This is the English tutorial with English installer screenshots. 查看中文版教程 →
How to Install Ubuntu on a Snapdragon ARM64 Laptop with uqitong
Create a uqitong ARM bootable USB drive, start the Snapdragon laptop in ARM PE, install Ubuntu 26.04 LTS ARM64, sign in to the new desktop, and verify the final Ubuntu and Windows boot menu.
Video walkthrough
Watch the complete video first, then use the illustrated steps below to verify the Ubuntu ARM64 image, installation layout, and target disk.
Read this before you begin
- Creating the bootable drive erases the entire selected USB flash drive.
- Installing Ubuntu erases or repartitions the selected target. Whole-disk mode erases the entire target disk; partition mode deletes the selected target partition; shrink mode resizes an existing partition. Back up before using any mode.
- The PC must use UEFI and GPT. For the installer’s normal in-memory path, use at least 8 GB of memory and reserve at least 25 GiB for Ubuntu.
- The ISO must be an Ubuntu Desktop ARM64 image. An amd64/x64 image for an Intel or AMD PC will not work.
- Do not use a BitLocker volume as the Ubuntu ISO source. One-click Install Ubuntu v1.5 rejects that source before changing a target disk, even when Windows shows the volume as unlocked or protection suspended.
- Connect AC power and verify the ISO, target disk, target partition, and installation mode before you continue.
Before You Begin
You will need:
- A supported Qualcomm Snapdragon/ARM64 Windows PC. This walkthrough was completed on a Lenovo ThinkPad T14s Gen 6 with Snapdragon.
- A USB flash drive that can be completely erased.
- A working Windows computer on which to run the uqitong ARM USB creator.
- An Ubuntu Desktop ARM64 ISO from the official Ubuntu Desktop download page or the official Ubuntu 26.04 ARM64 image directory. Check the file against the official SHA256SUMS.
- A normal non-BitLocker NTFS or FAT32 volume for the ISO, such as the visible data area of the bootable USB drive.
- A complete backup of every file on the target disk or partition, plus AC power for the target PC.
Version note: The tested file was named ubuntu-26.04-desktop-arm64.iso. At the time of writing, Ubuntu offers the updated Ubuntu 26.04.1 LTS ARM64 Desktop image; prefer the current maintained image from the official page. Ubuntu 24.04 did not start in an earlier test on this ThinkPad, while 26.04 did. Firmware and hardware support can differ on other models.
Choose the installation layout first: use partition mode if you already prepared a dedicated empty partition, or shrink mode to make space while retaining Windows. Whole-disk mode deletes Windows, recovery partitions, and every other item on the selected disk.
1. Download the English ARM64 USB Creator
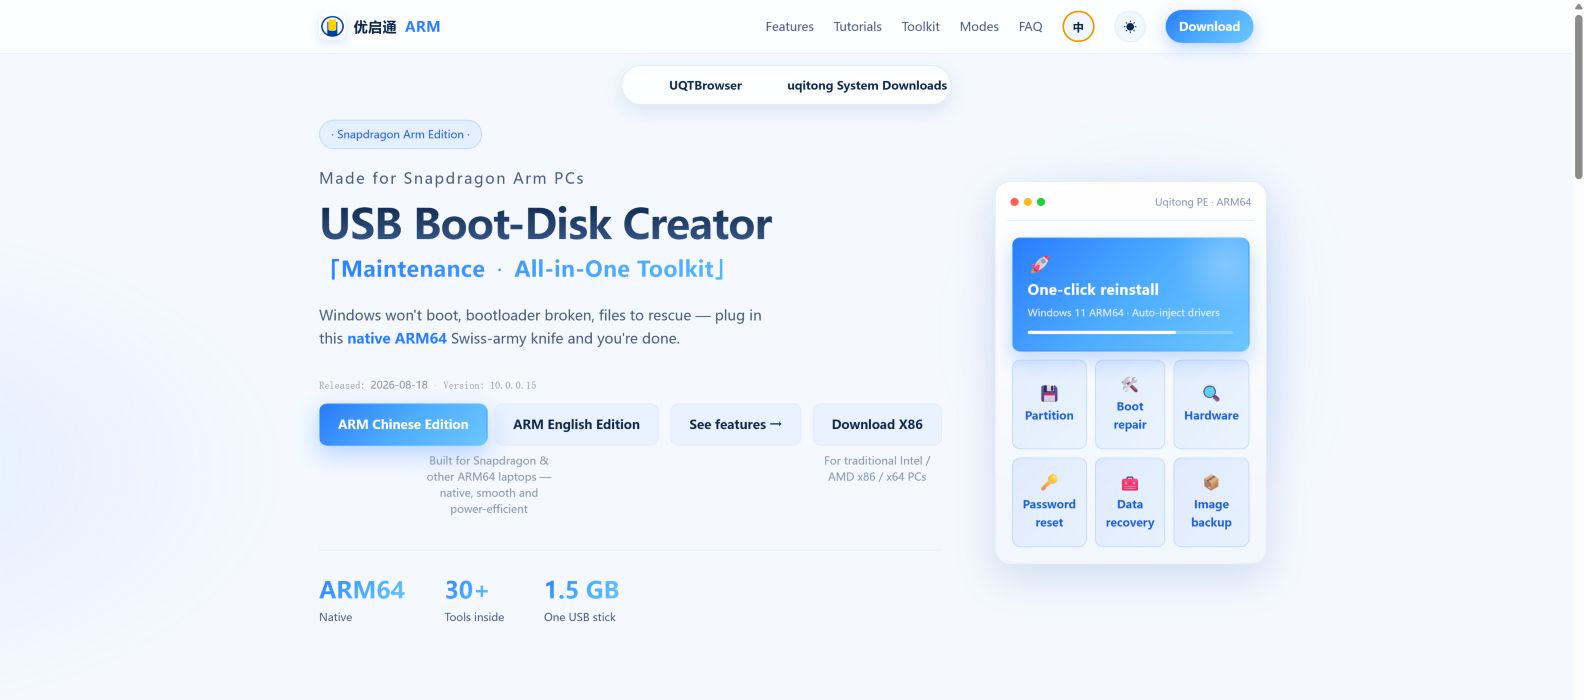
Open the official uqitong ARM website. If the page appears in Chinese, choose EN in the header, then download the English ARM edition for Snapdragon-based computers.
Do not use the x86 edition for this procedure. The x86 release is intended for traditional Intel/AMD computers.
2. Create the Bootable USB Flash Drive
1Select the correct USB drive
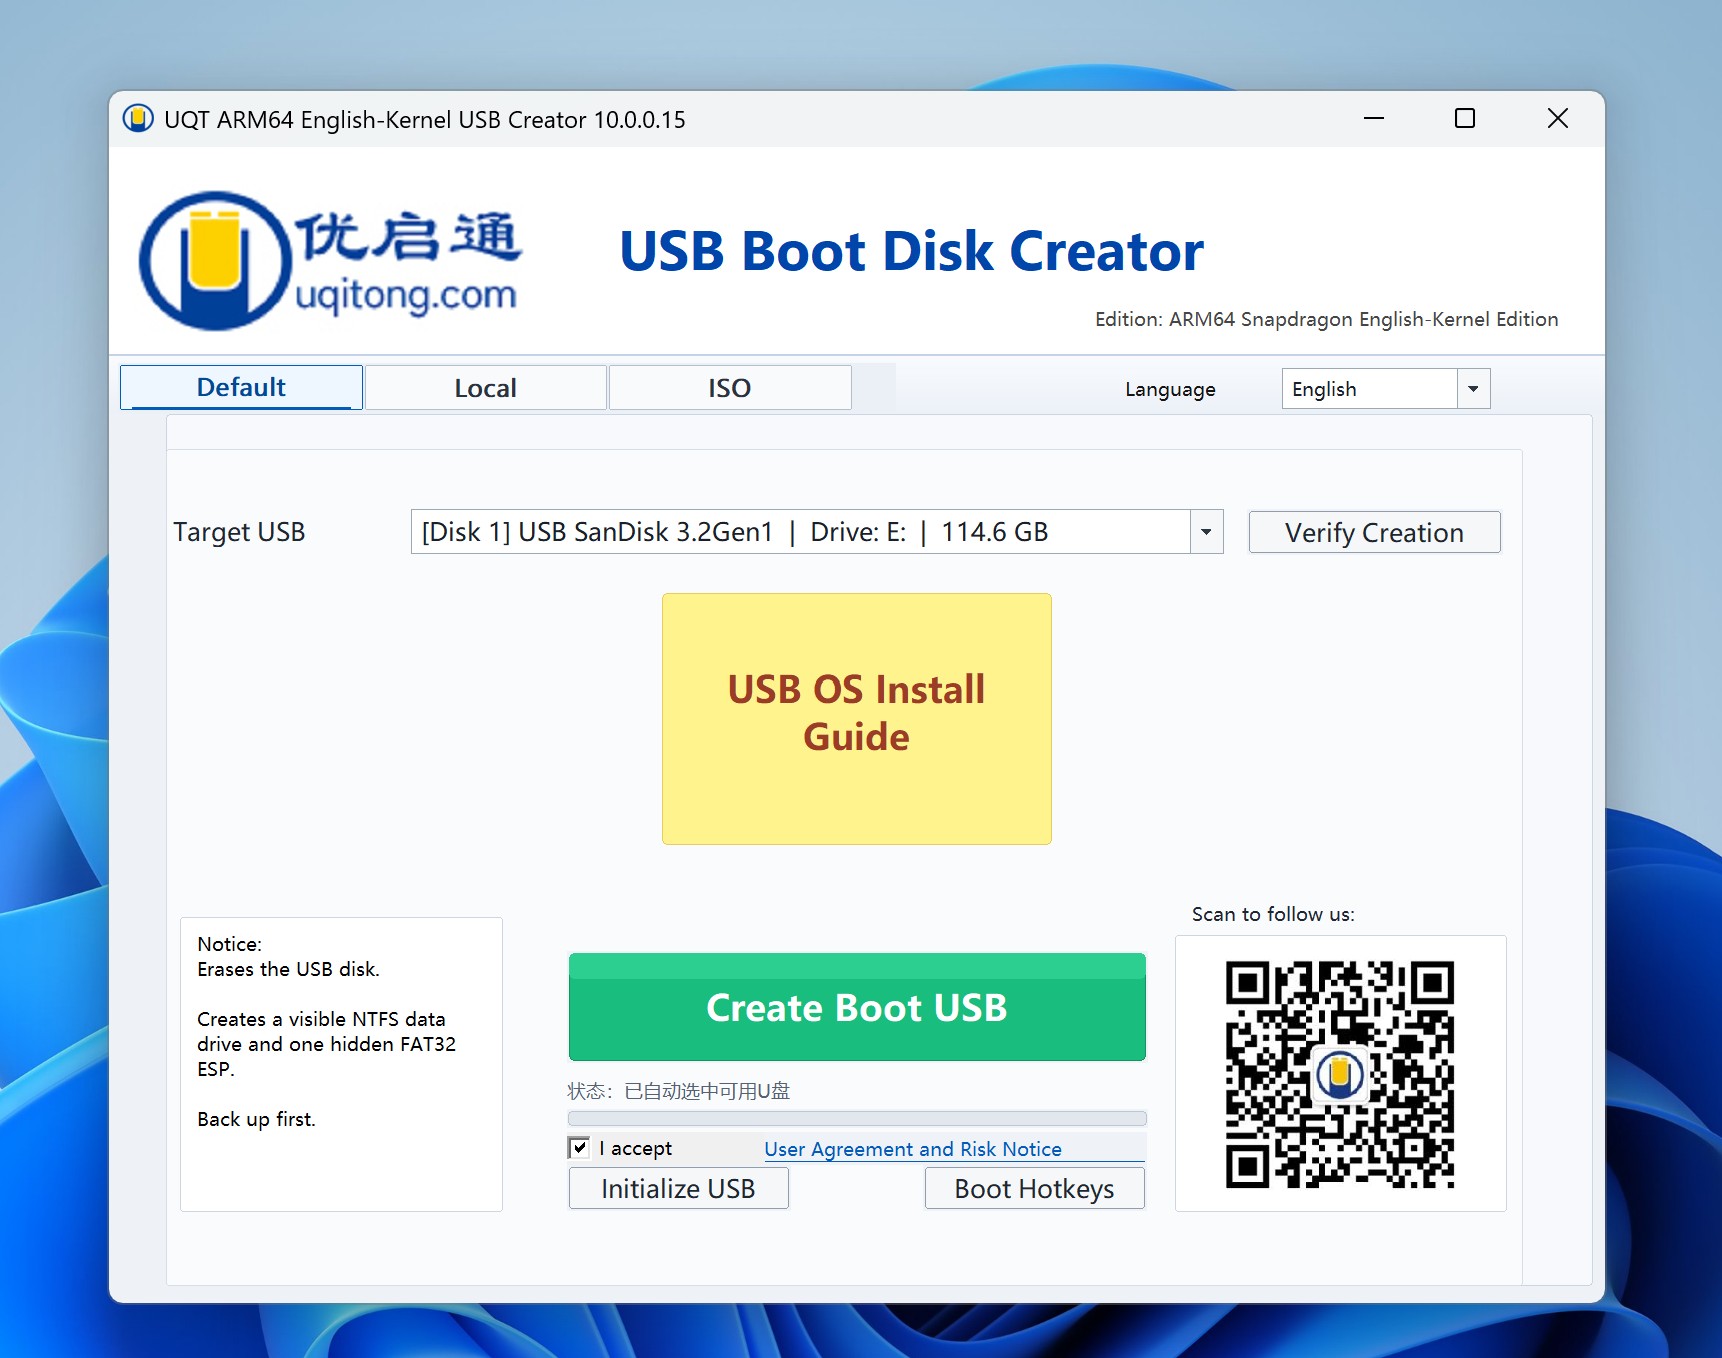
Connect the USB flash drive and launch the creator. On the Default tab, use the Target USB menu and verify the disk number, device name, drive letter, and capacity. Disconnect unrelated removable drives if possible. Select I accept, then click Create Boot USB.
2Wait for creation to finish
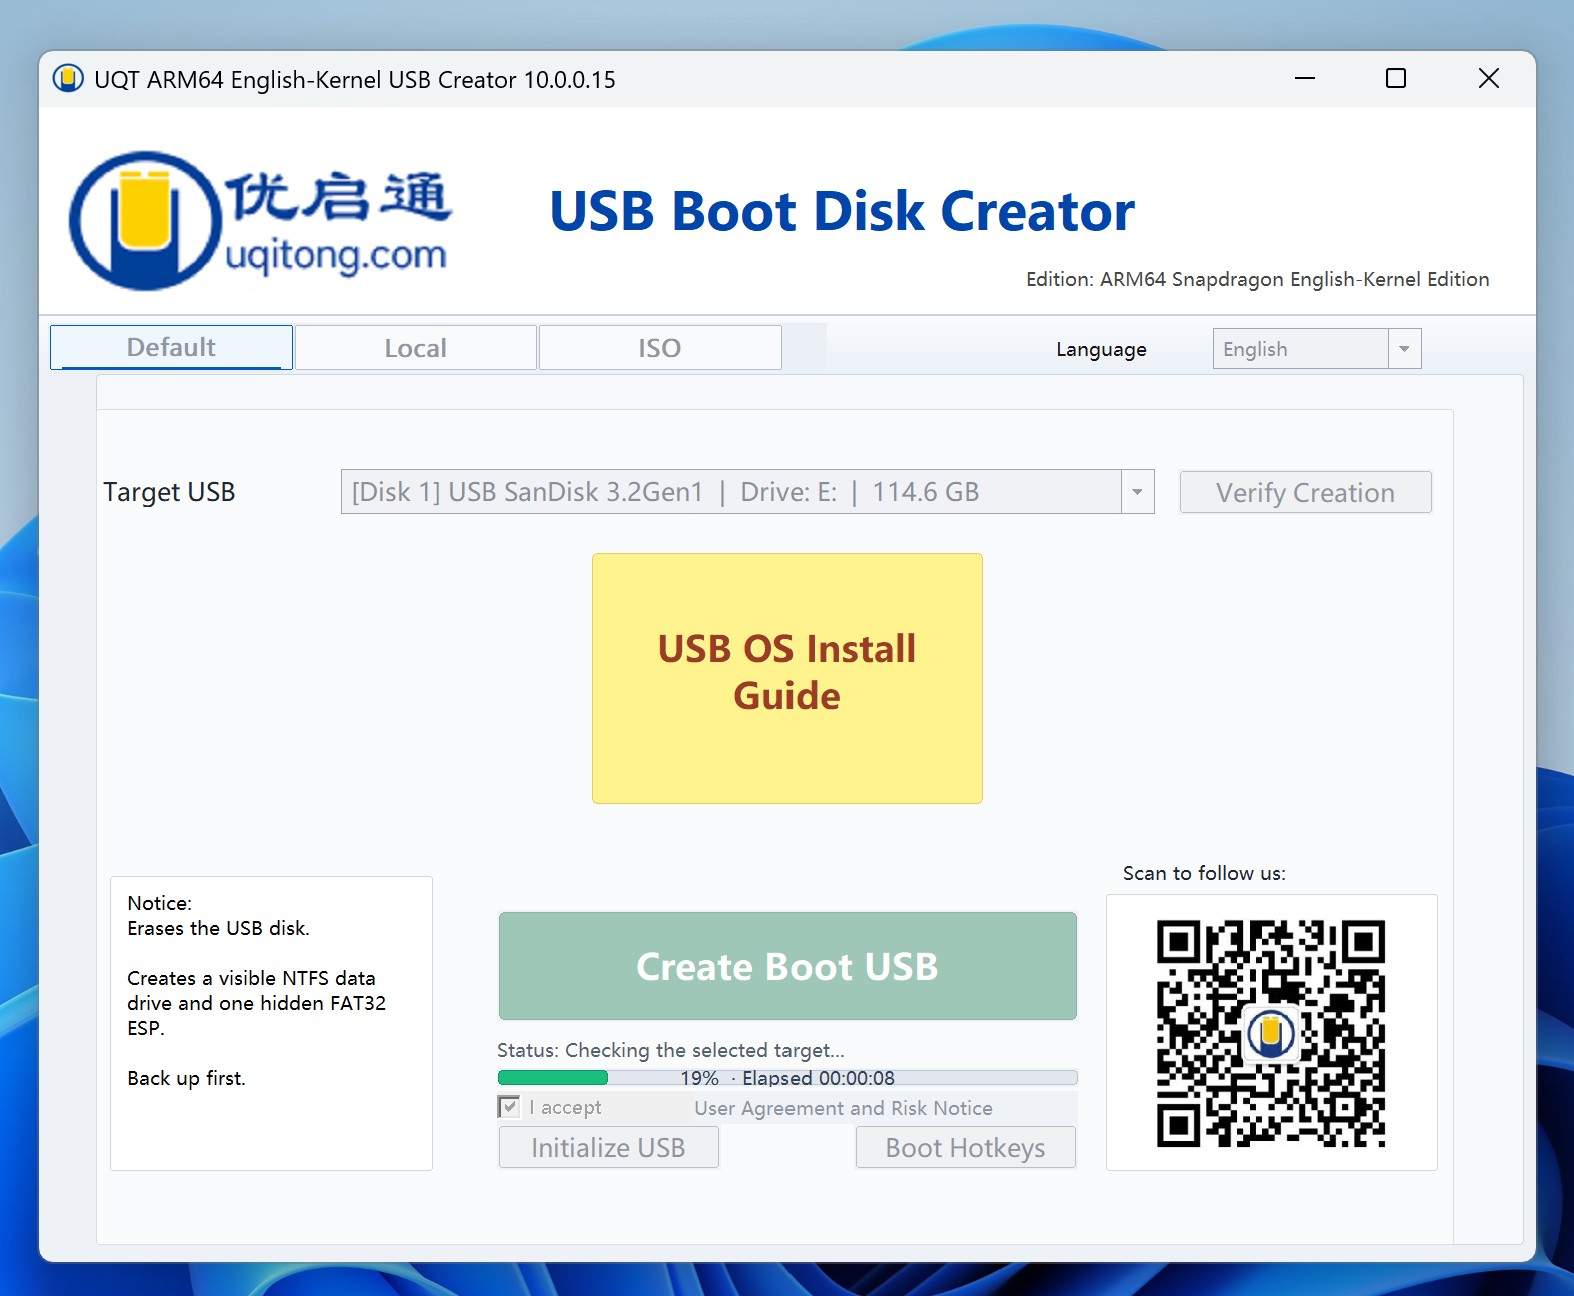
Do not close the application, remove the drive, or shut down the computer while it prepares and writes the ARM PE environment.
3Confirm the result
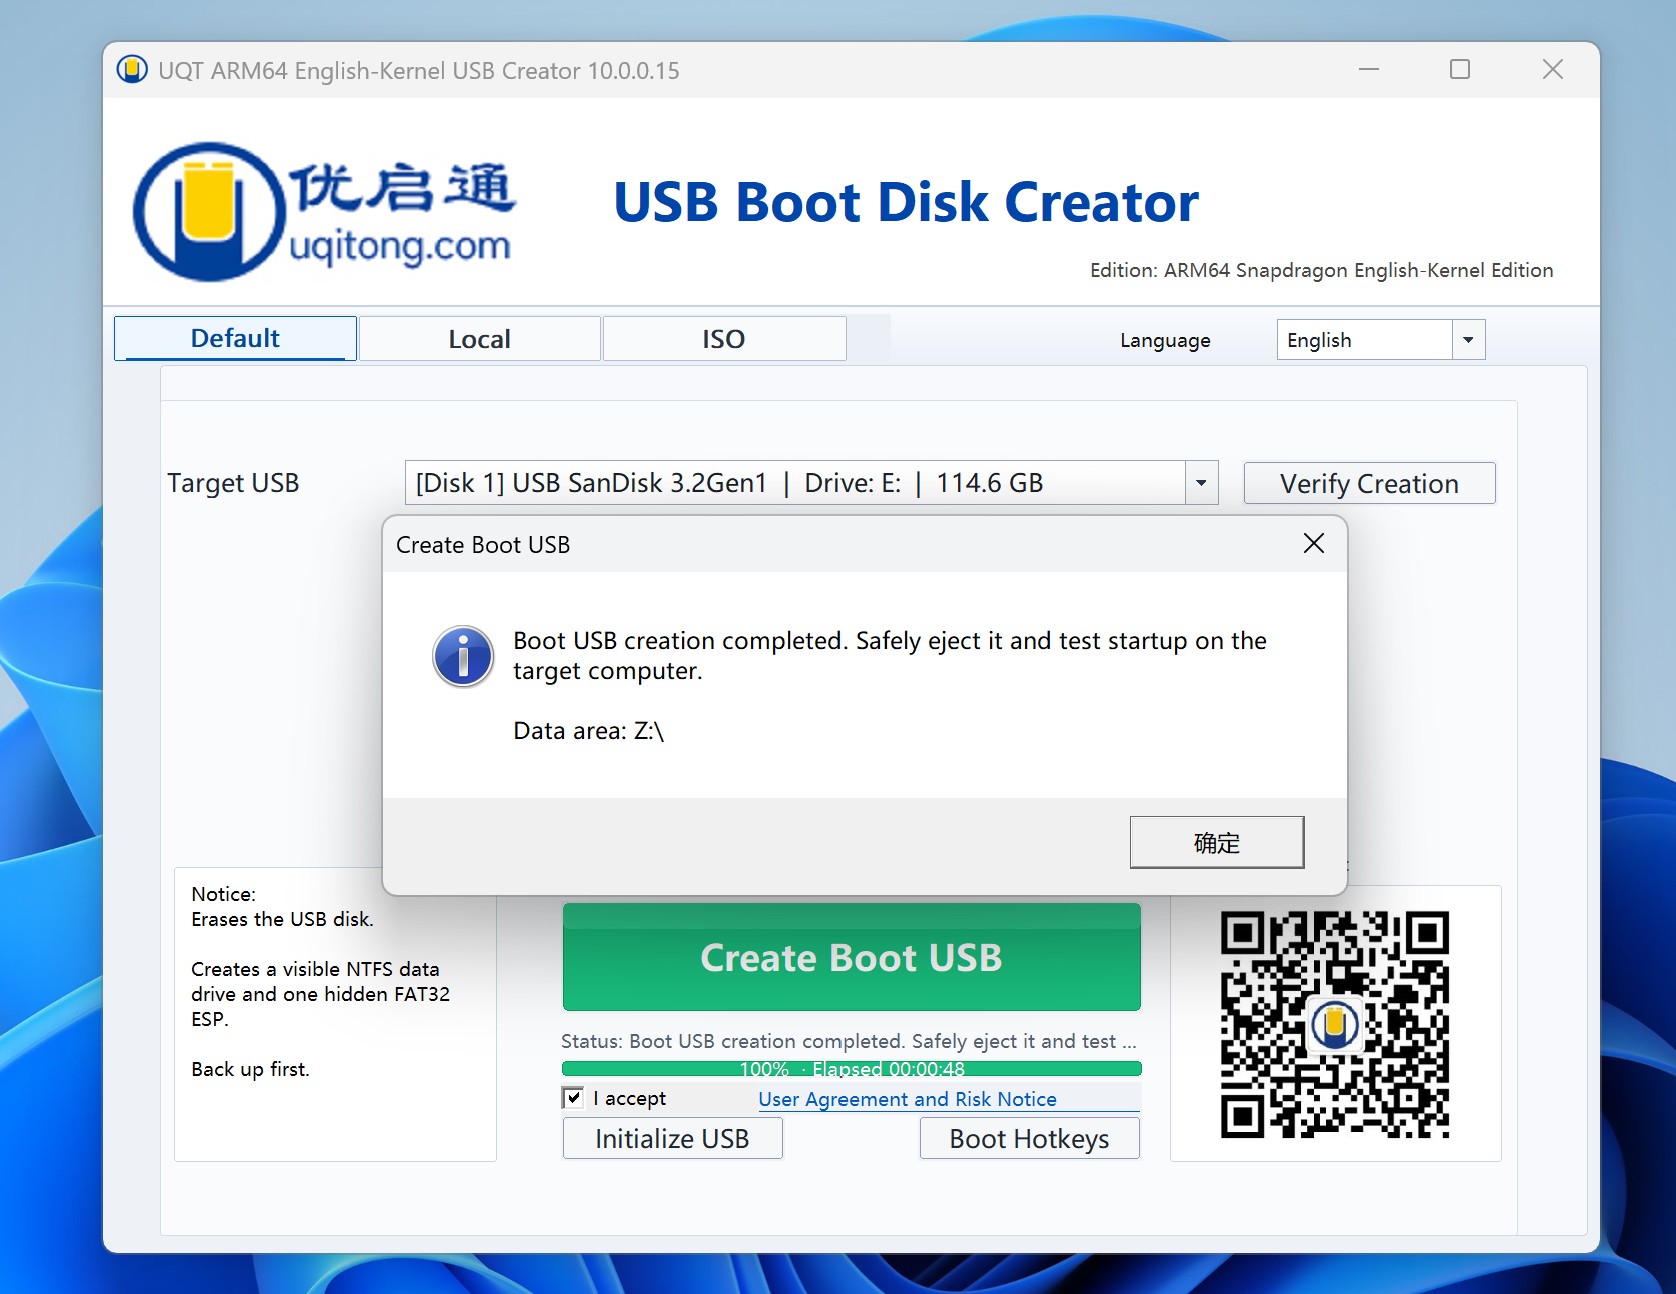
When the success message appears, click OK. The creator makes a visible data area and a hidden FAT32 EFI System Partition. The hidden partition is required for startup; do not delete or reformat it.
3. Start the Snapdragon PC from the USB Drive
1Open the one-time boot menu
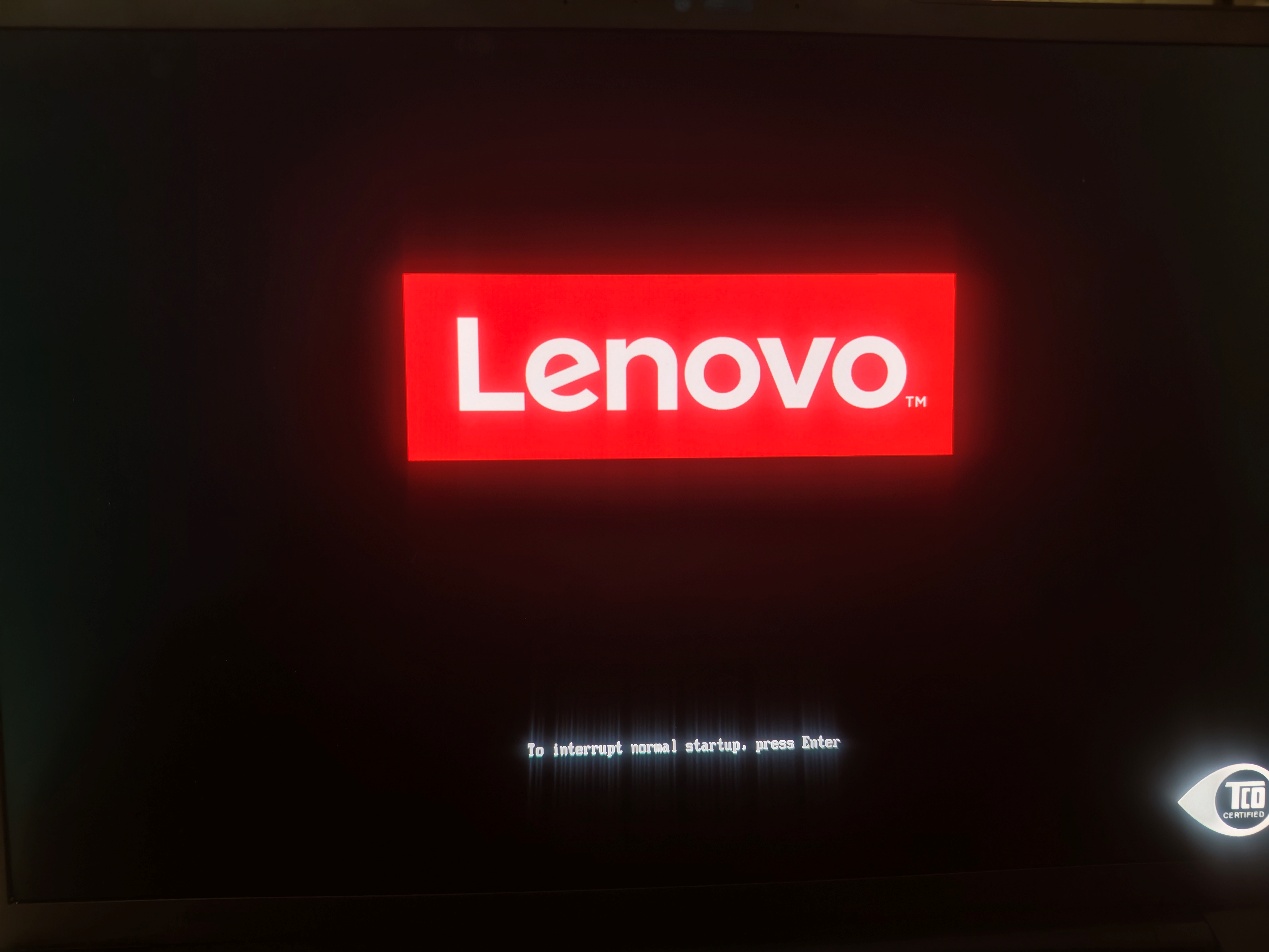
Safely eject the drive, connect it to the target Snapdragon laptop, and keep the laptop connected to AC power. Restart the computer and repeatedly press the model-specific one-time boot key when the manufacturer logo appears. Many Lenovo and ThinkPad models use F12; some first prompt you to press Enter and then F12. Other manufacturers may use a different key, so consult the PC maker’s instructions when needed.
2Select the USB entry
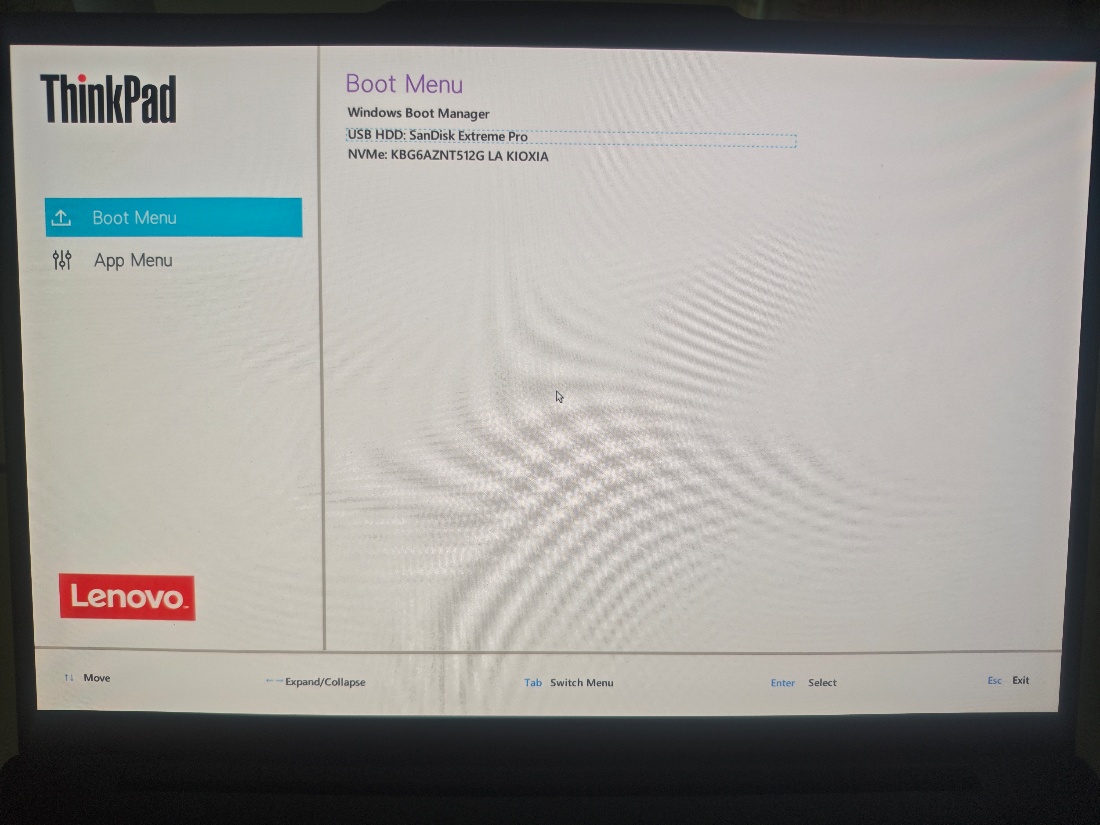
Choose the entry that matches the USB flash drive. Its label may contain USB, USB HDD, or the drive manufacturer. Do not choose Windows Boot Manager or the internal NVMe/SSD at this stage.
3Confirm that uqitong ARM PE starts
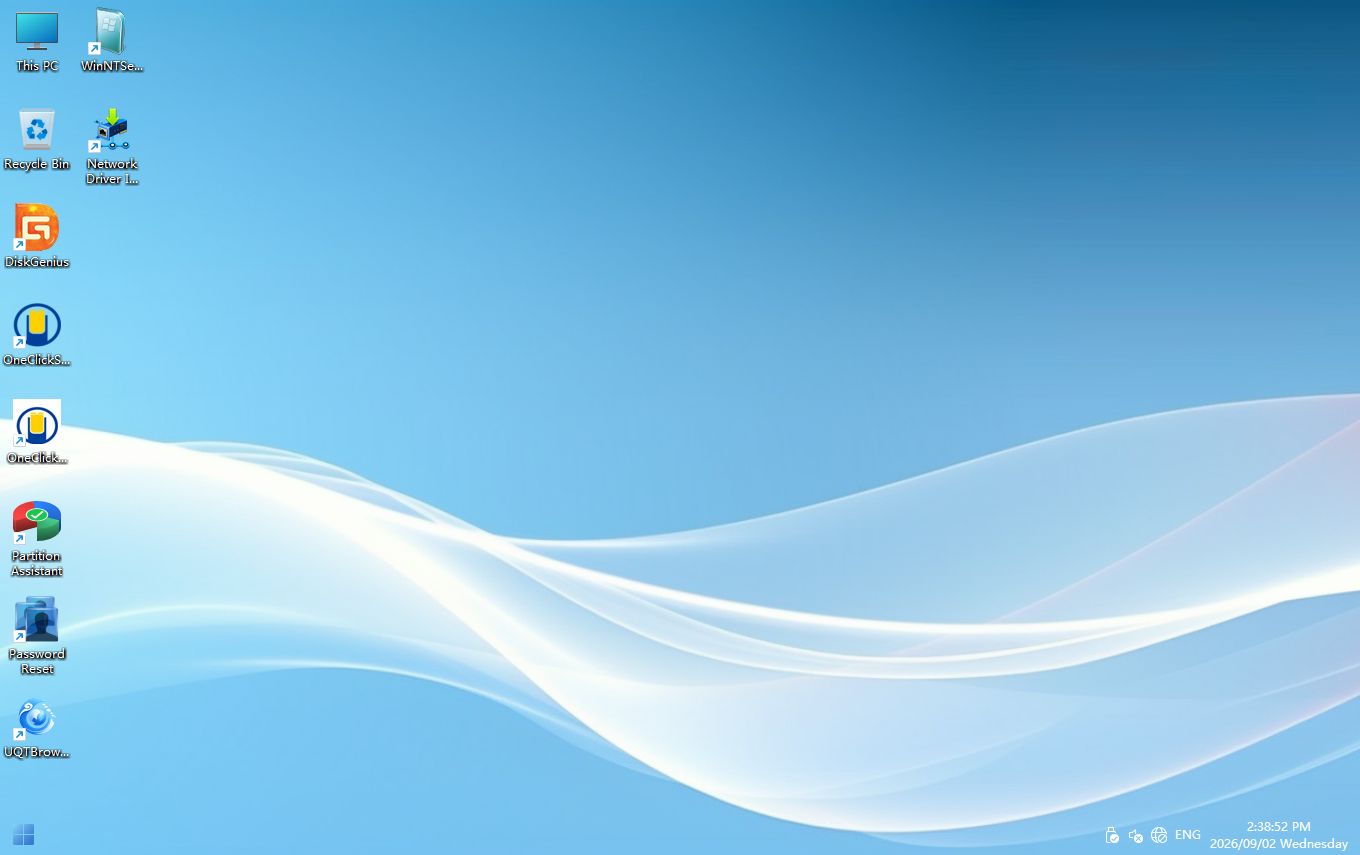
When startup succeeds, the uqitong ARM PE desktop appears. Open the uqitong Ubuntu Installer shortcut from the desktop.
4. Place the Ubuntu ARM64 ISO on a Readable Source
The installer prepares the next stage in PE and then restarts into a Linux environment. That environment must be able to mount the original ISO source after Windows PE is no longer running.
- The visible data area of the uqitong USB drive is the simplest location.
- Another ordinary NTFS or FAT32 USB drive is also suitable.
- An internal non-BitLocker data partition can be used only if this installation will not delete or shrink it.
- Network paths are not supported. A short path at the drive root with a simple file name is easiest to identify.
- Never place the ISO on the partition that will be deleted or shrunk, and do not disconnect its storage device before Ubuntu finishes. For whole-disk mode, keep the ISO on USB or another external device.
BitLocker warning: if One-click Install Ubuntu v1.5 reports that the selected ISO is on a BitLocker volume, cancel the selection and copy the ISO to an ordinary non-BitLocker partition or USB data area. “Unlocked” or “protection suspended” in Windows does not convert a BitLocker-formatted volume into a normal volume. Version 1.5 stops before any target-disk change so the installation cannot continue with an unreadable source.
5. Install Ubuntu with uqitong Ubuntu Installer v1.5
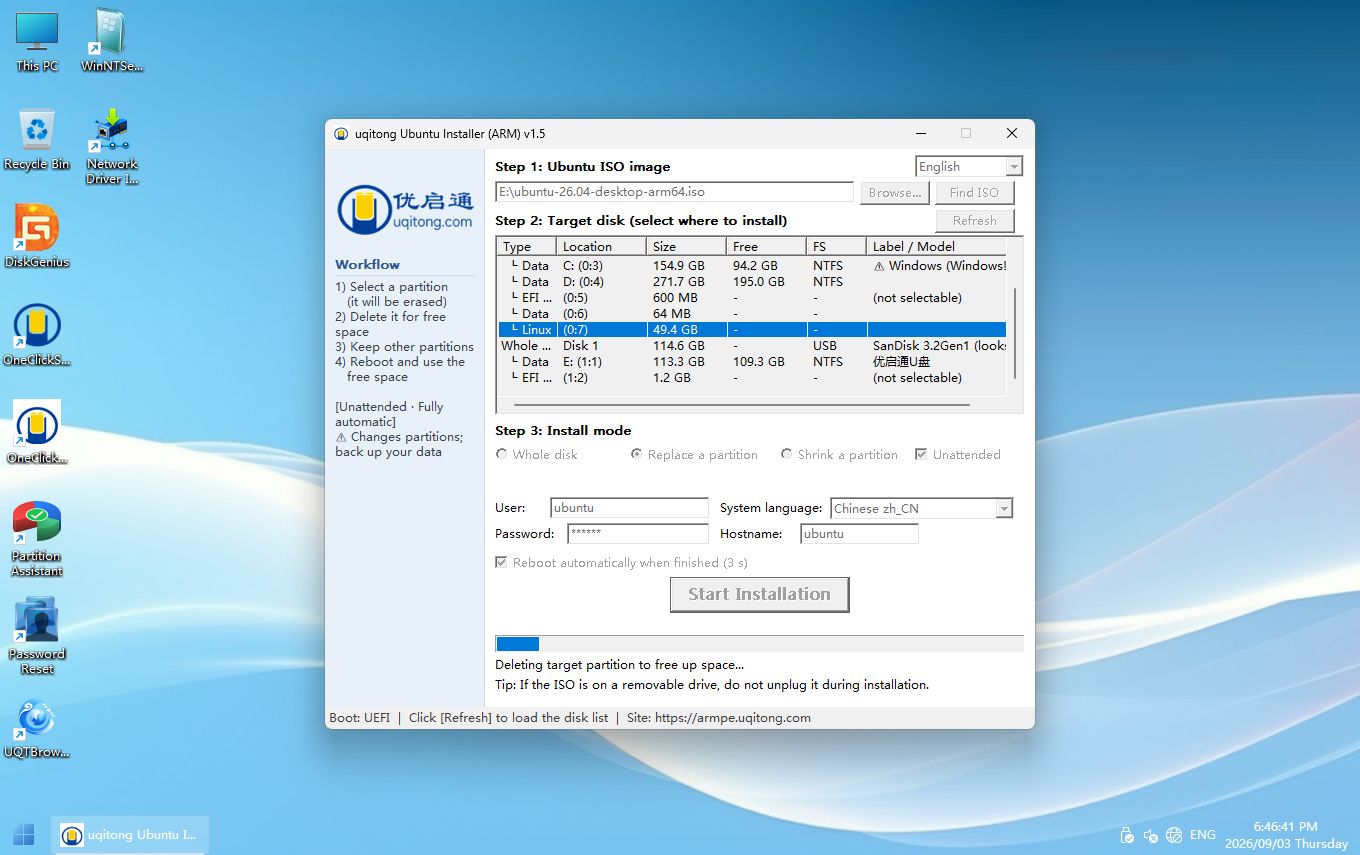
1Select the ISO, target, and installation mode
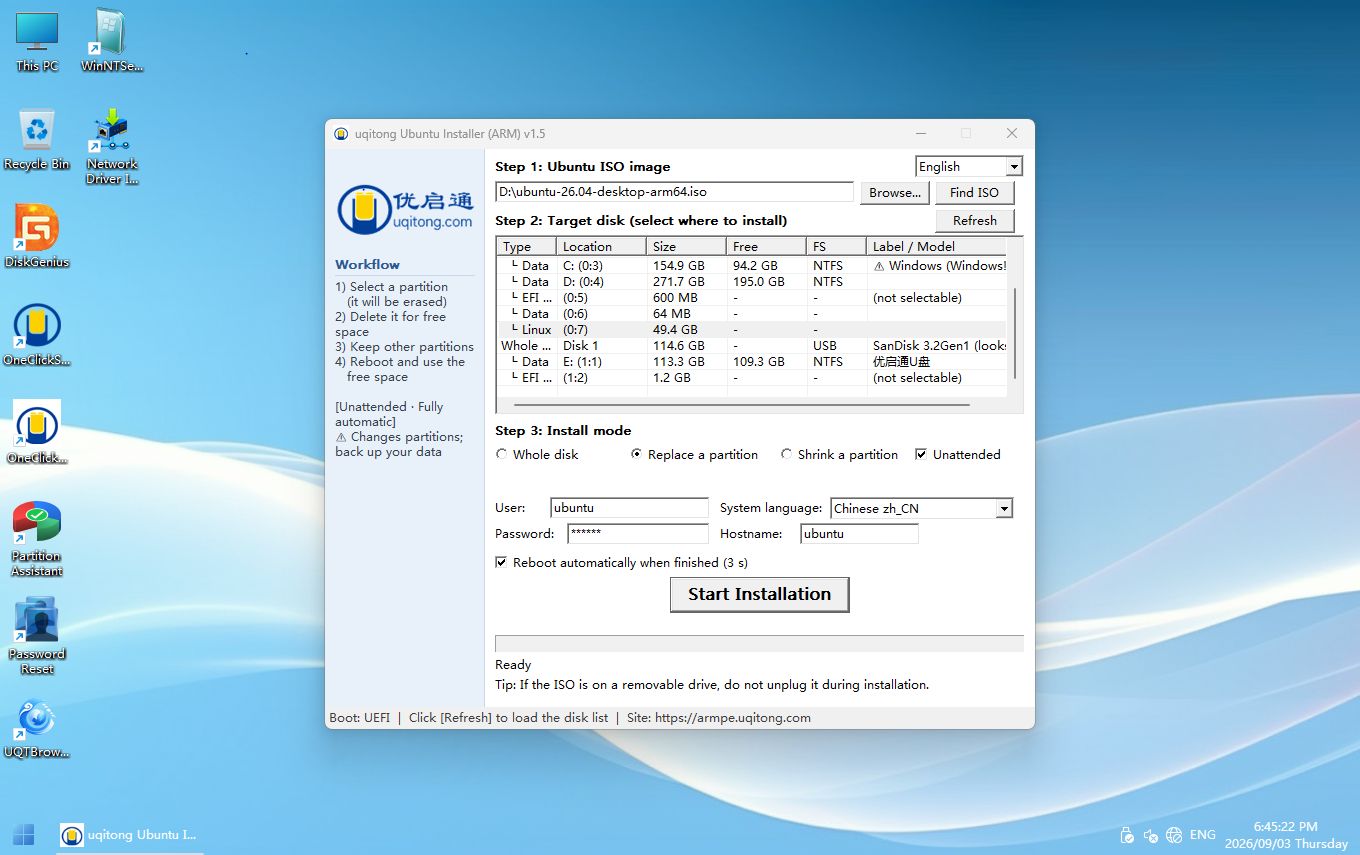
Click Browse and select the Ubuntu Desktop ARM64 ISO. Use the image-search button or Refresh if the list needs to be updated. Identify the target by disk number, partition number, label, capacity, and file system—not by its PE drive letter alone.
The installer offers three layouts:
- Single system (whole disk): delete every partition on the selected disk and install Ubuntu. This removes Windows, recovery partitions, and all data on that disk.
- Install to partition (format partition): delete the selected partition and use the released space for Ubuntu while retaining other partitions. The verified installation used this mode on the roughly 49.4 GB partition labeled Linux.
- Shrink partition (do not format partition): shrink the selected existing partition and install Ubuntu in the new free space, normally to retain Windows for dual boot. Use it only after checking free space, partition health, and your backup.
For unattended installation, select Unattended, then enter the user name, password, host name, and system language. The example uses ubuntu as both the user name and host name and selects Chinese (zh_CN). Choose English here if you want an English Ubuntu interface.
2Allow the installer to prepare the target and boot files
After installation starts, the application processes the selected target, prepares the Ubuntu files, and writes a temporary UEFI boot entry. Do not close the installer, unplug either USB device, or disconnect power.
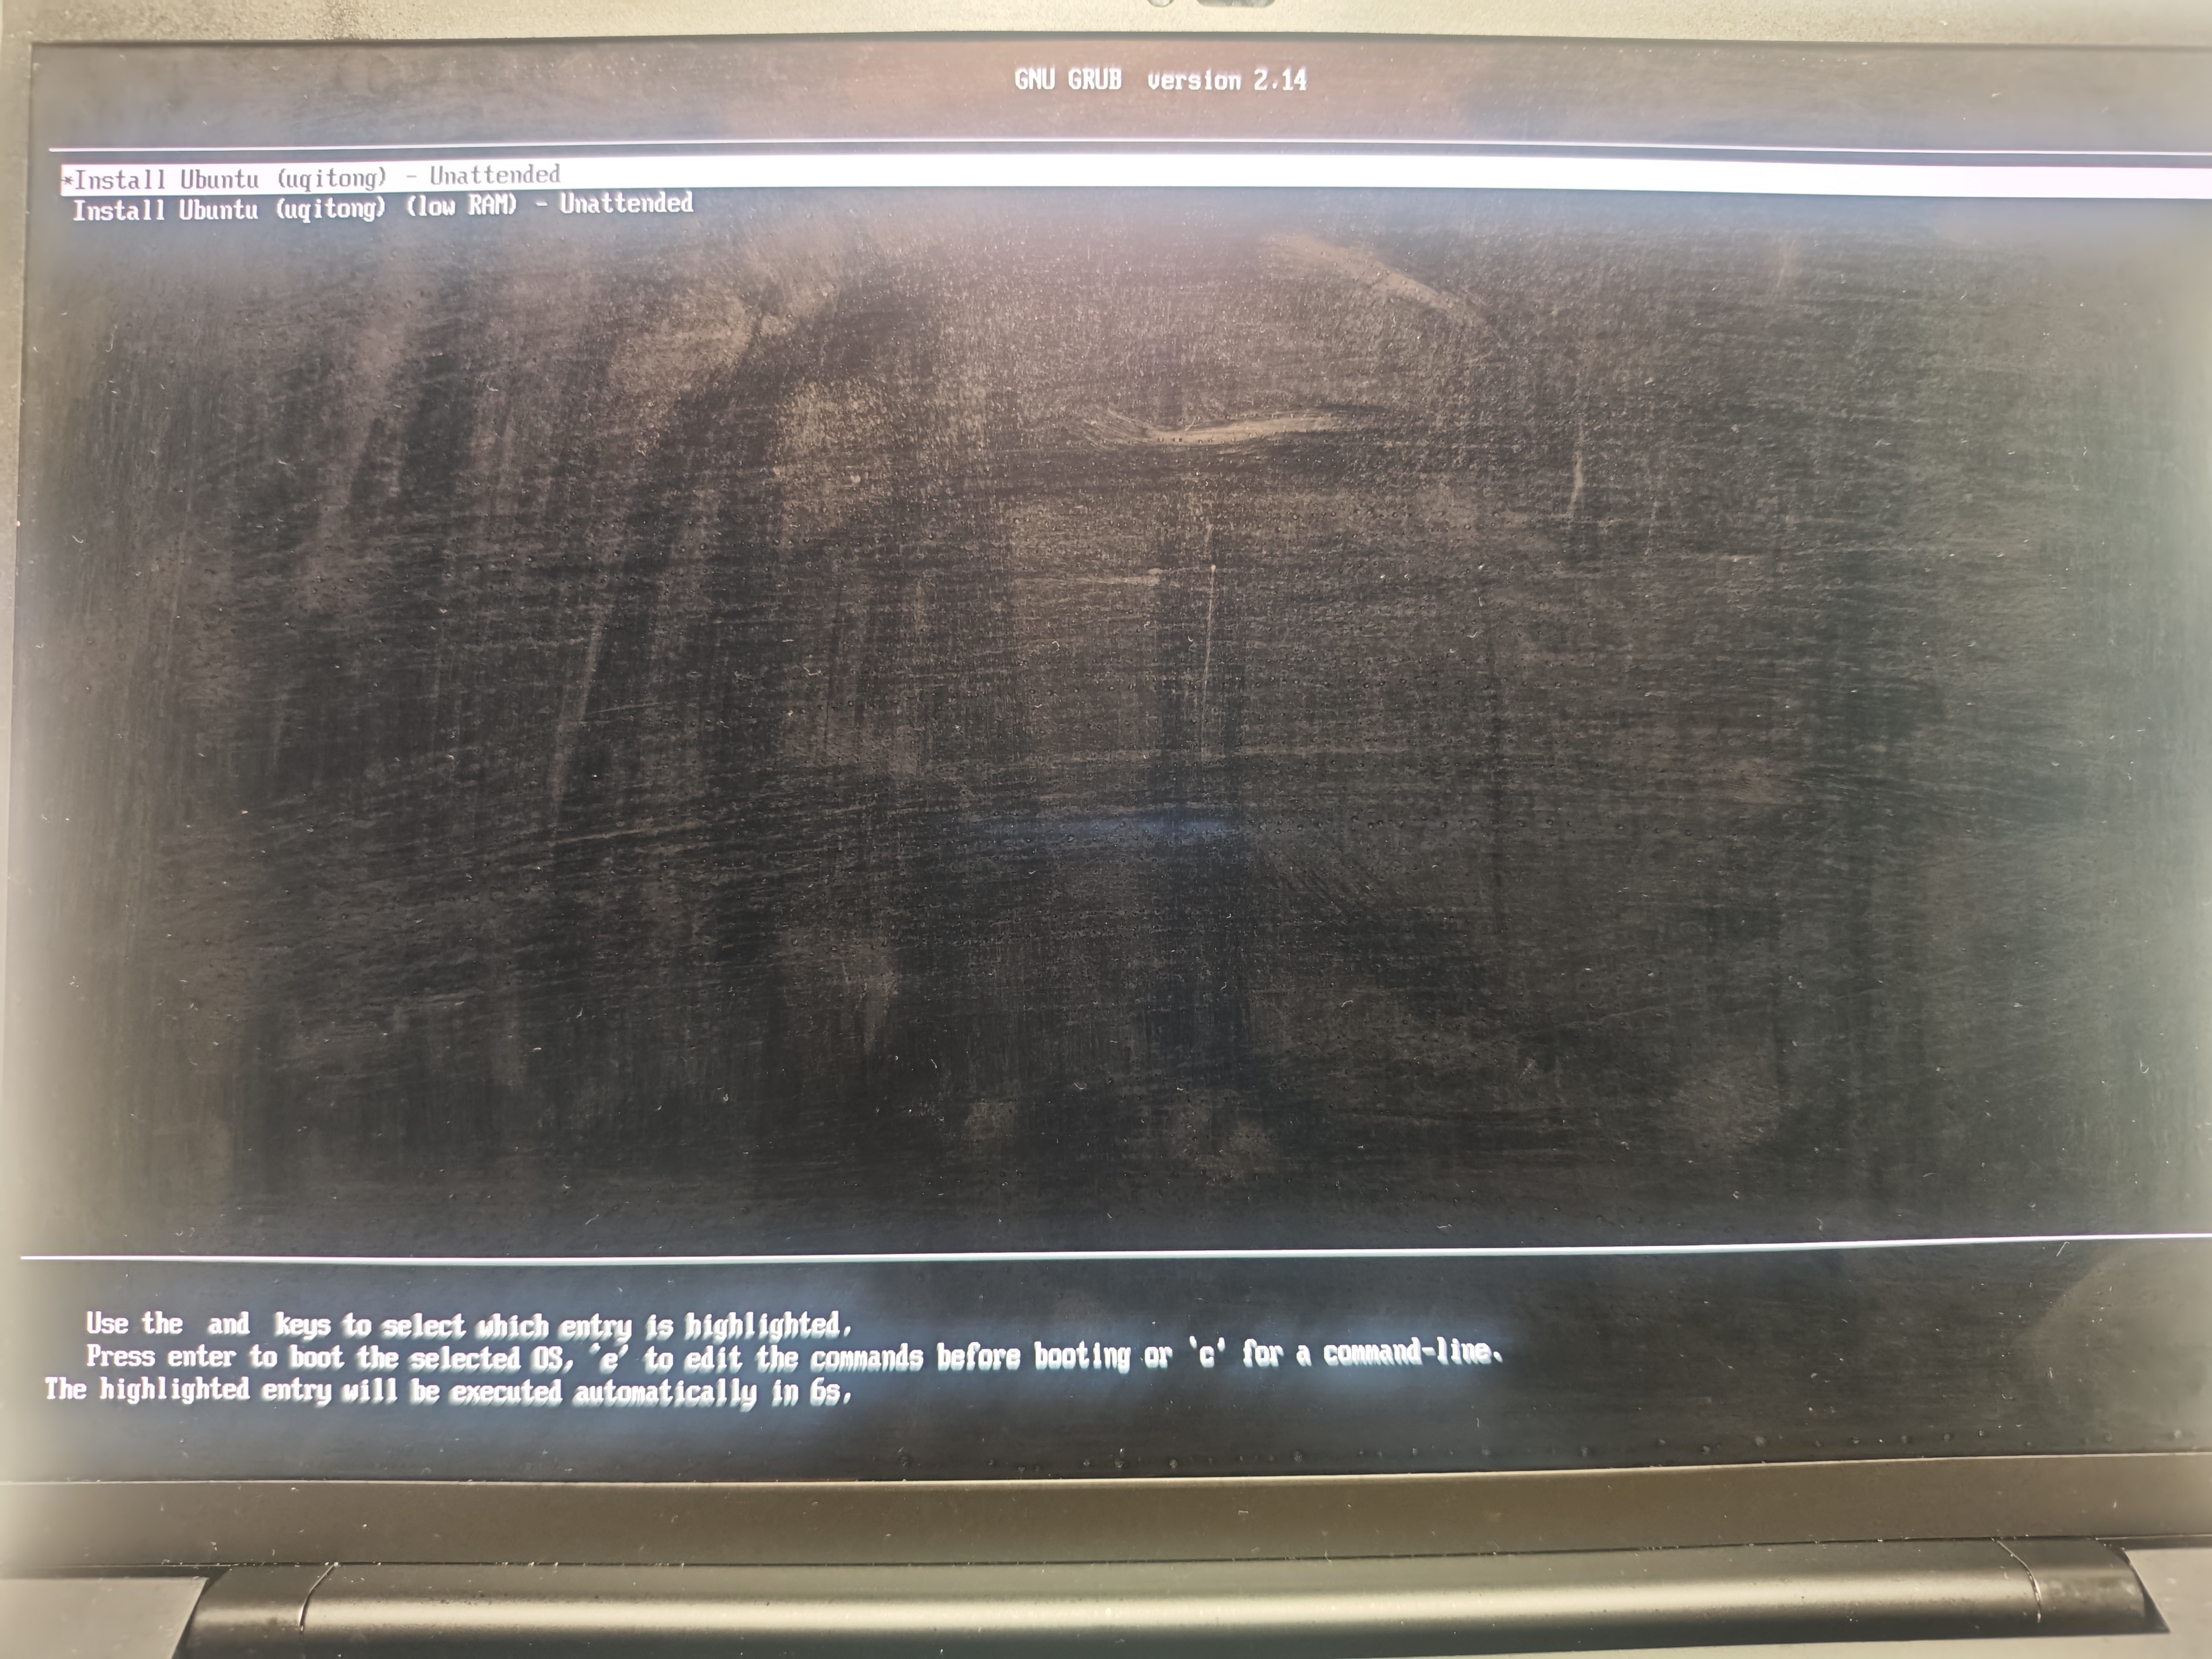
3Start the unattended installer from the temporary menu
After restart, a temporary GRUB menu appears. On a PC with at least 8 GB of memory, keep Install Ubuntu (uqitong) - Unattended selected and press Enter, or let the countdown continue. Use the low RAM entry only when the device actually needs the lower-memory compatibility path.
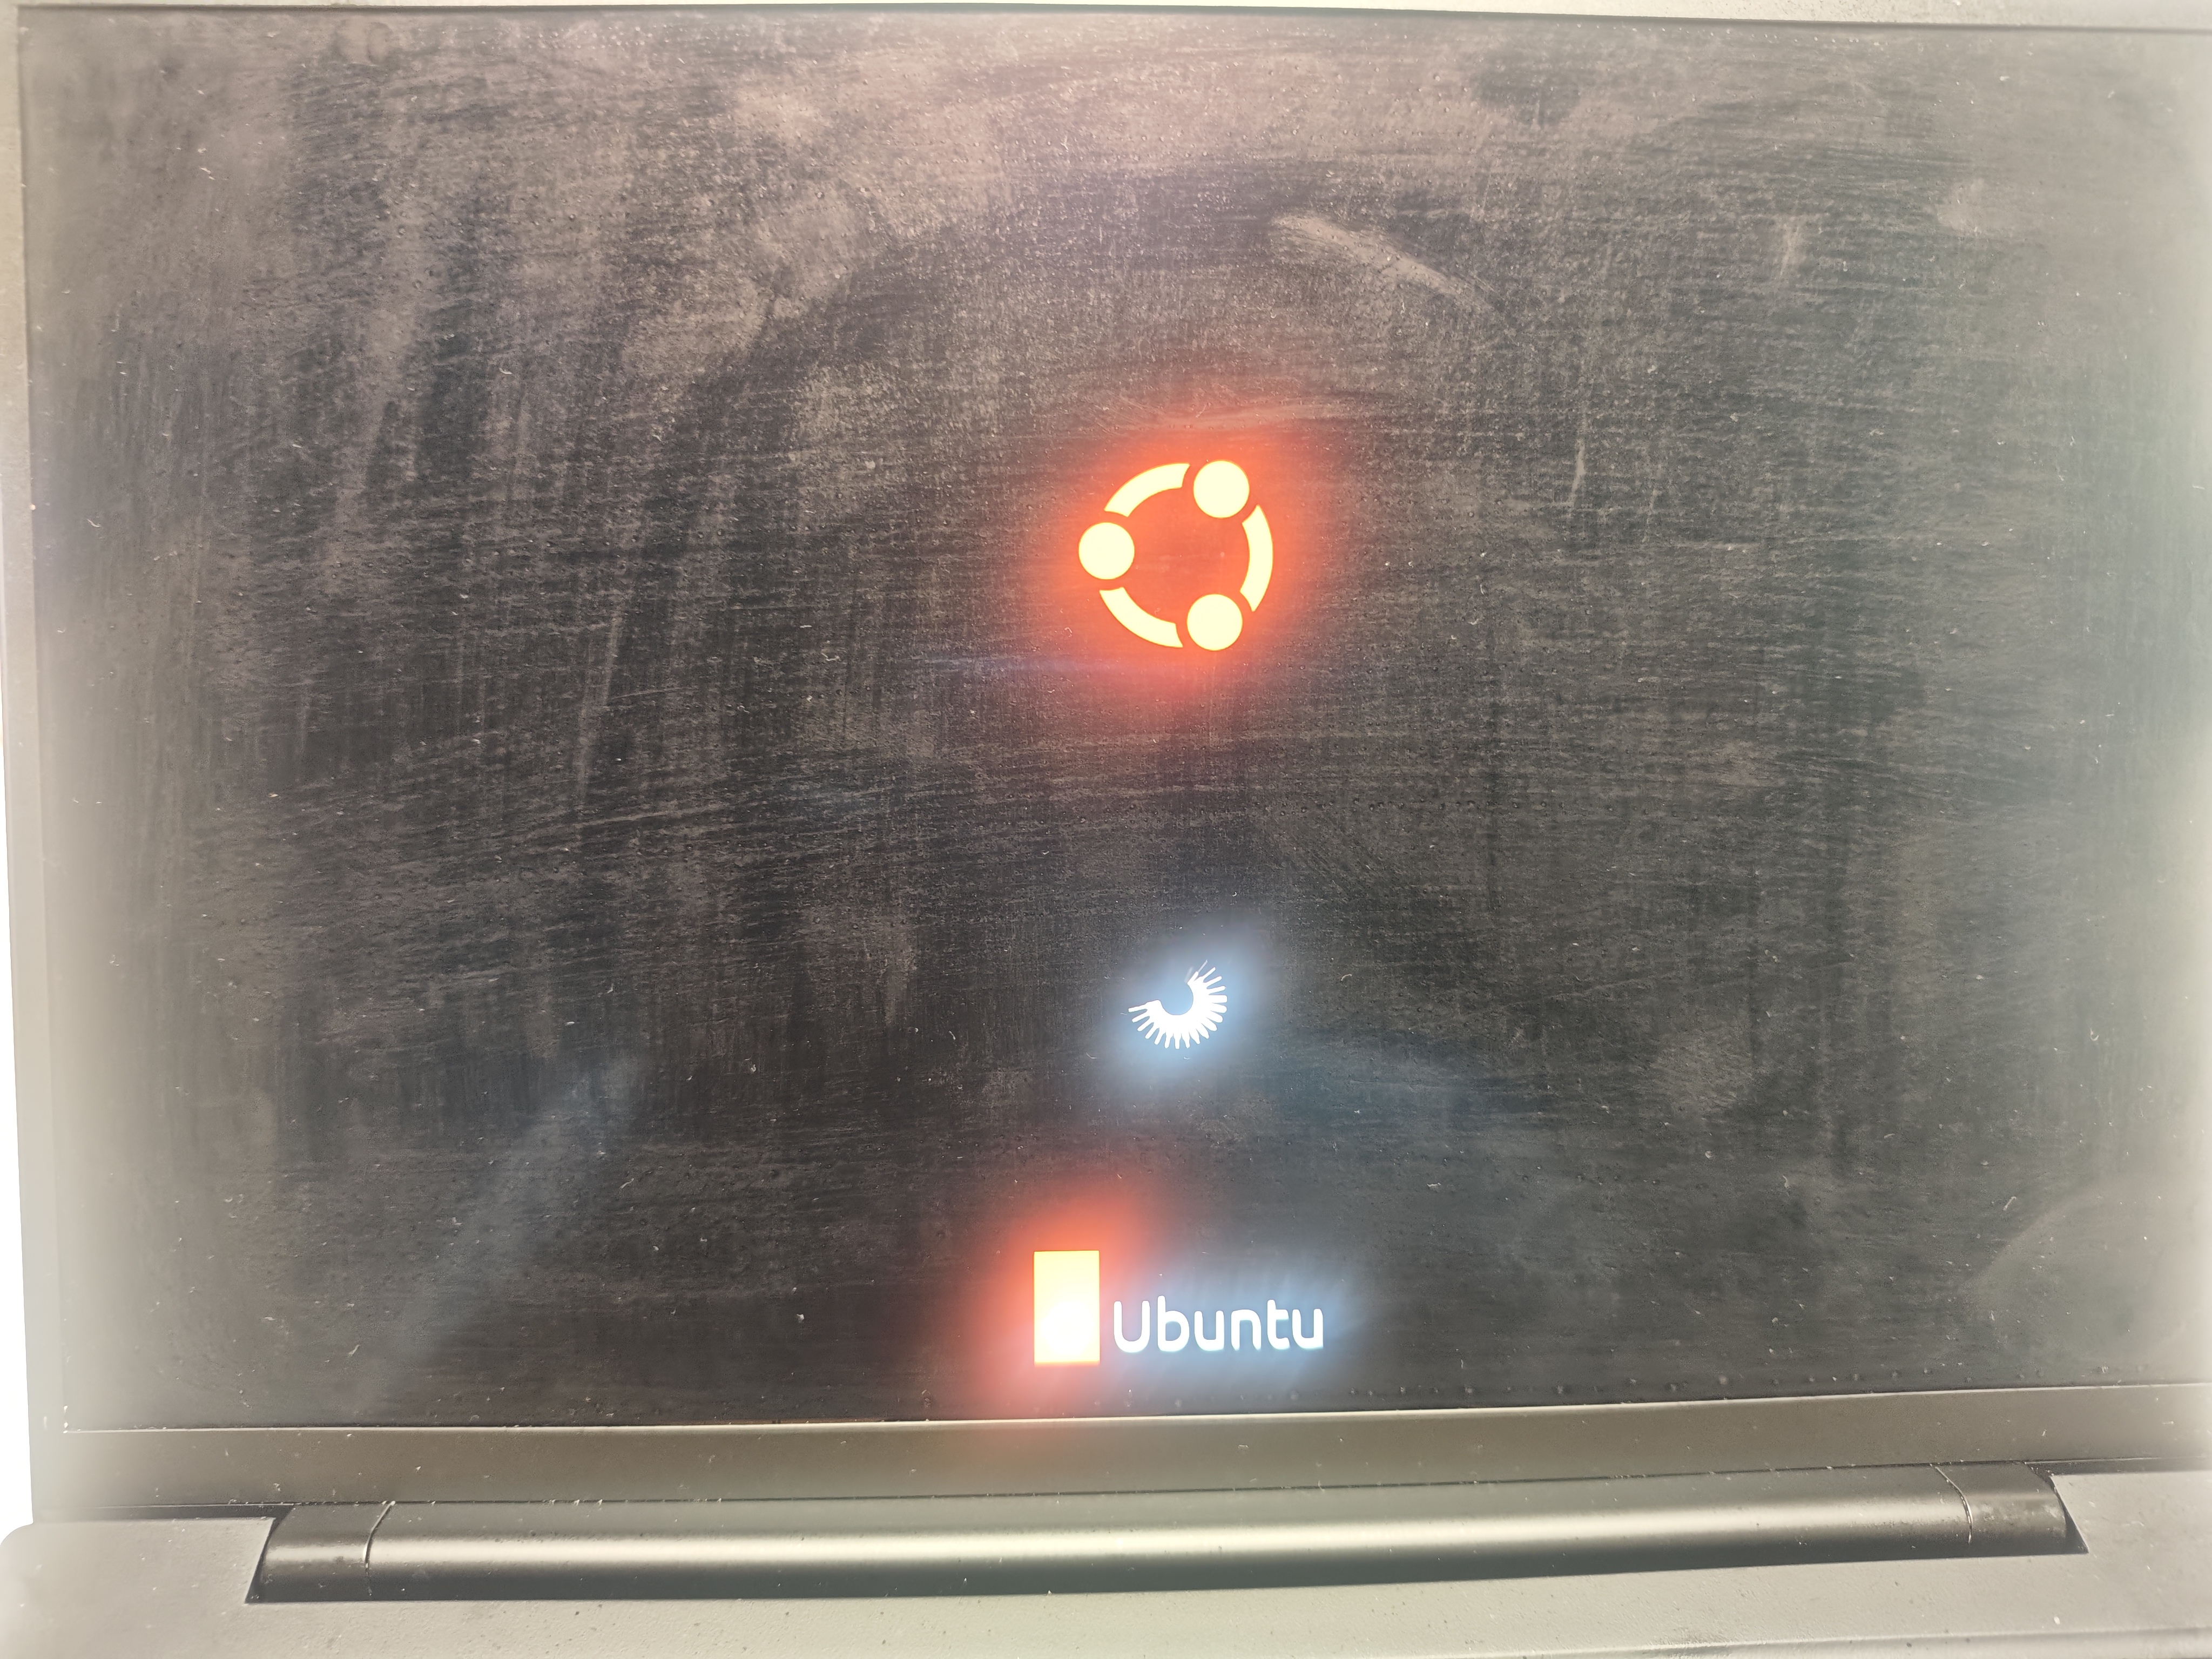
4Wait for Ubuntu to finish installing
The Ubuntu startup screen appears while the installation environment loads. The unattended UI normally estimates about 10–20 minutes, but actual time depends on disk and USB performance. The screen may change or the PC may restart automatically. Do not force the PC off or remove the device that stores the ISO. Remove the USB drive only after installation explicitly finishes and the final system or final GRUB menu appears.
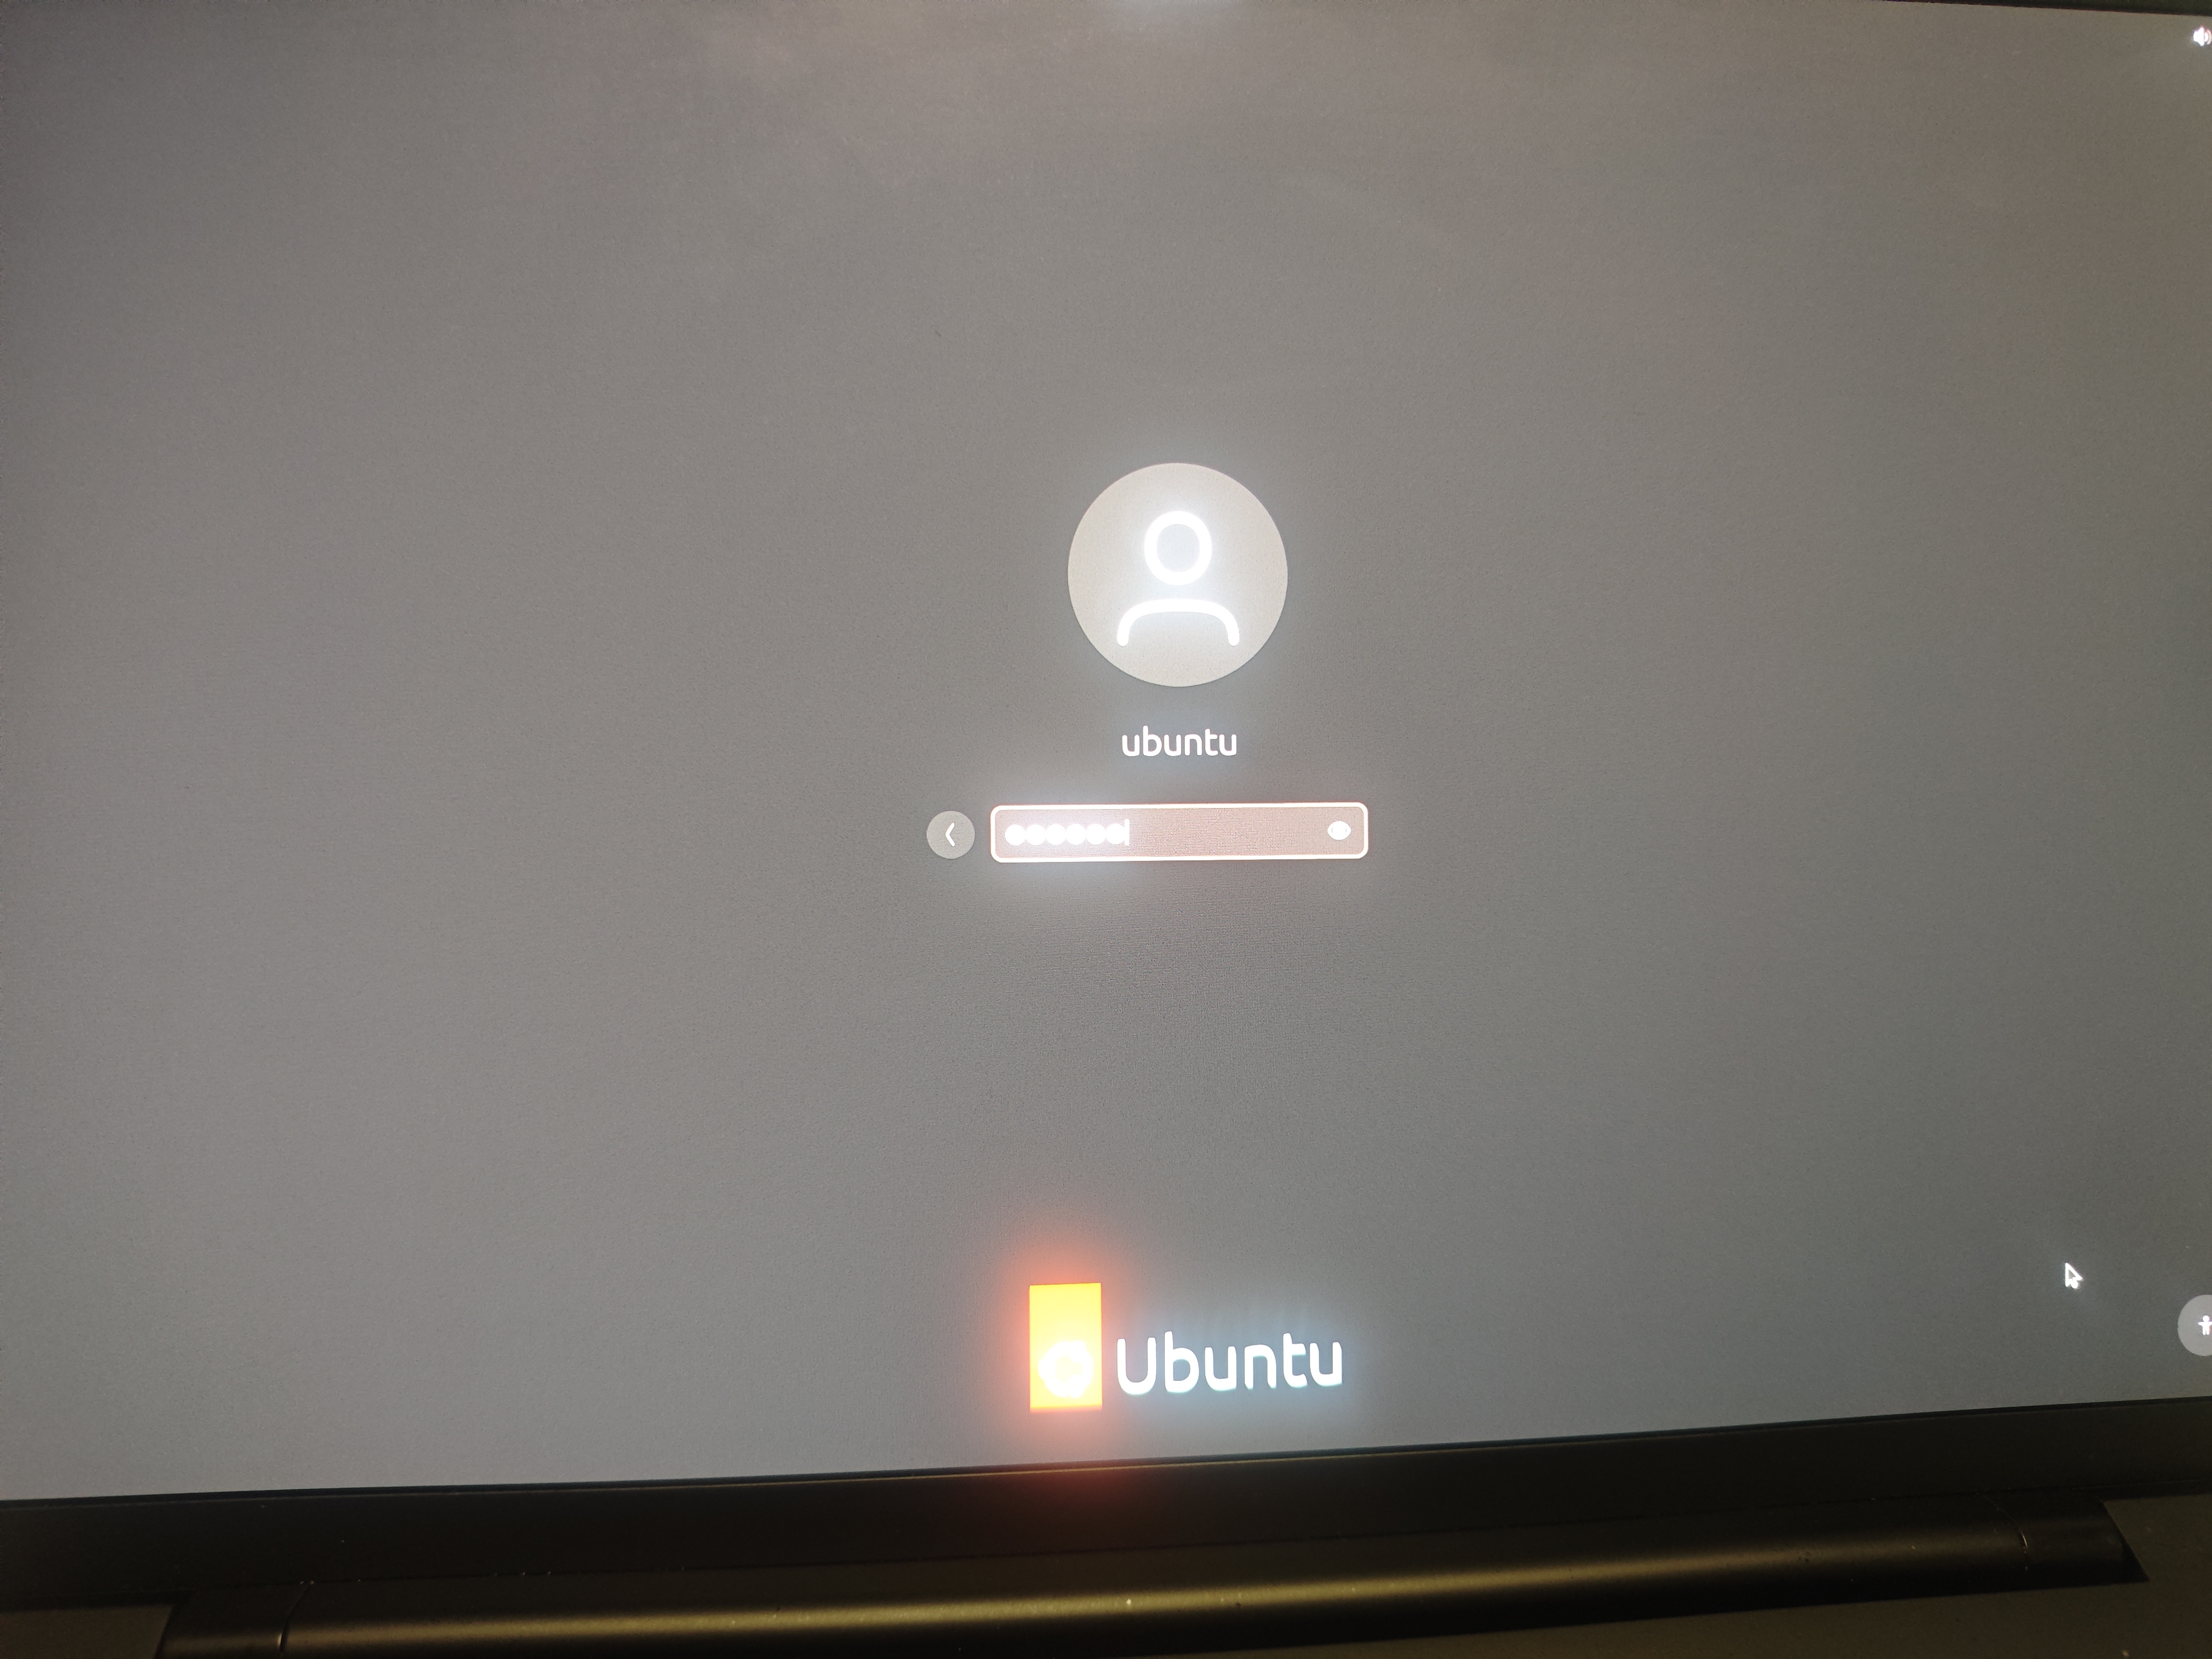
6. Complete First Startup and Sign In
When the login screen appears, select the account created in the installer and enter the password you supplied before installation.
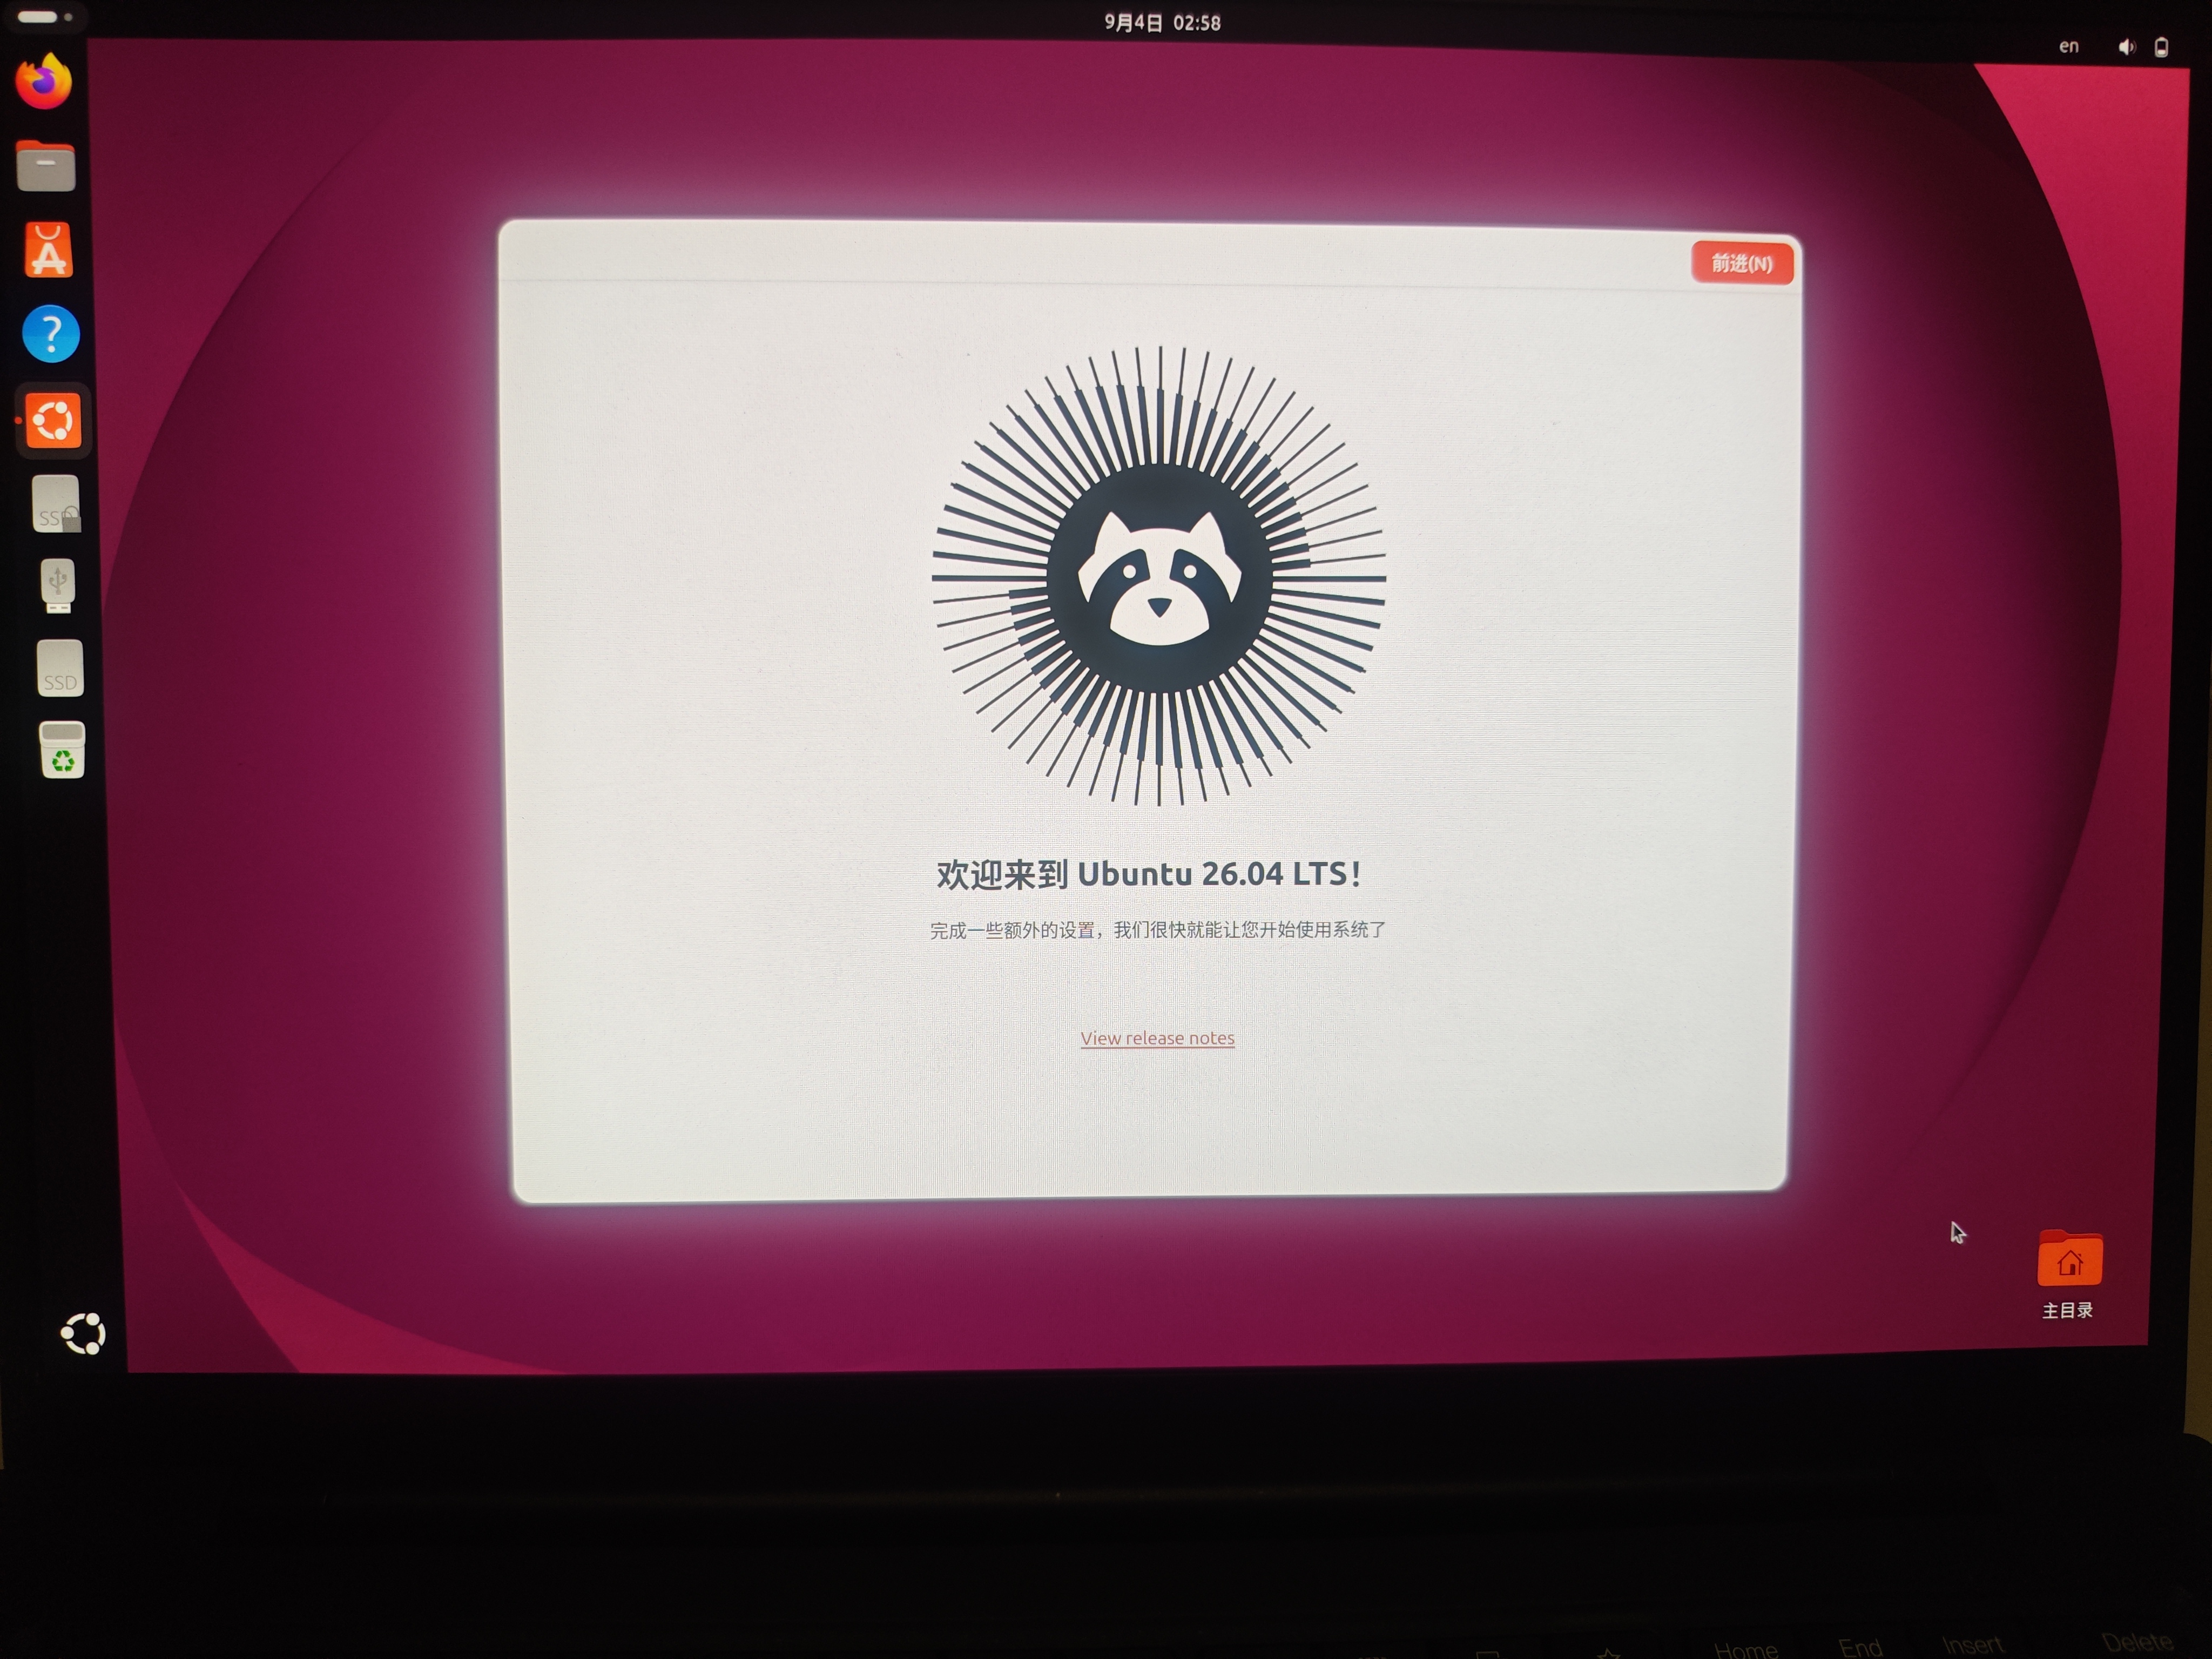
Ubuntu displays its welcome assistant on the first desktop session. Review the privacy, connectivity, and software options that apply to you. This test selected Chinese (zh_CN) in the PE installer, so the photographed welcome screen is Chinese; choosing English before installation produces the corresponding English interface.
7. Verify the Installed System
Restart once after completing the welcome assistant. With the uqitong USB drive disconnected, verify that the internal GRUB menu appears. If Windows was retained, start Ubuntu once and Windows once from internal storage; a menu label alone does not prove that an operating system still boots.
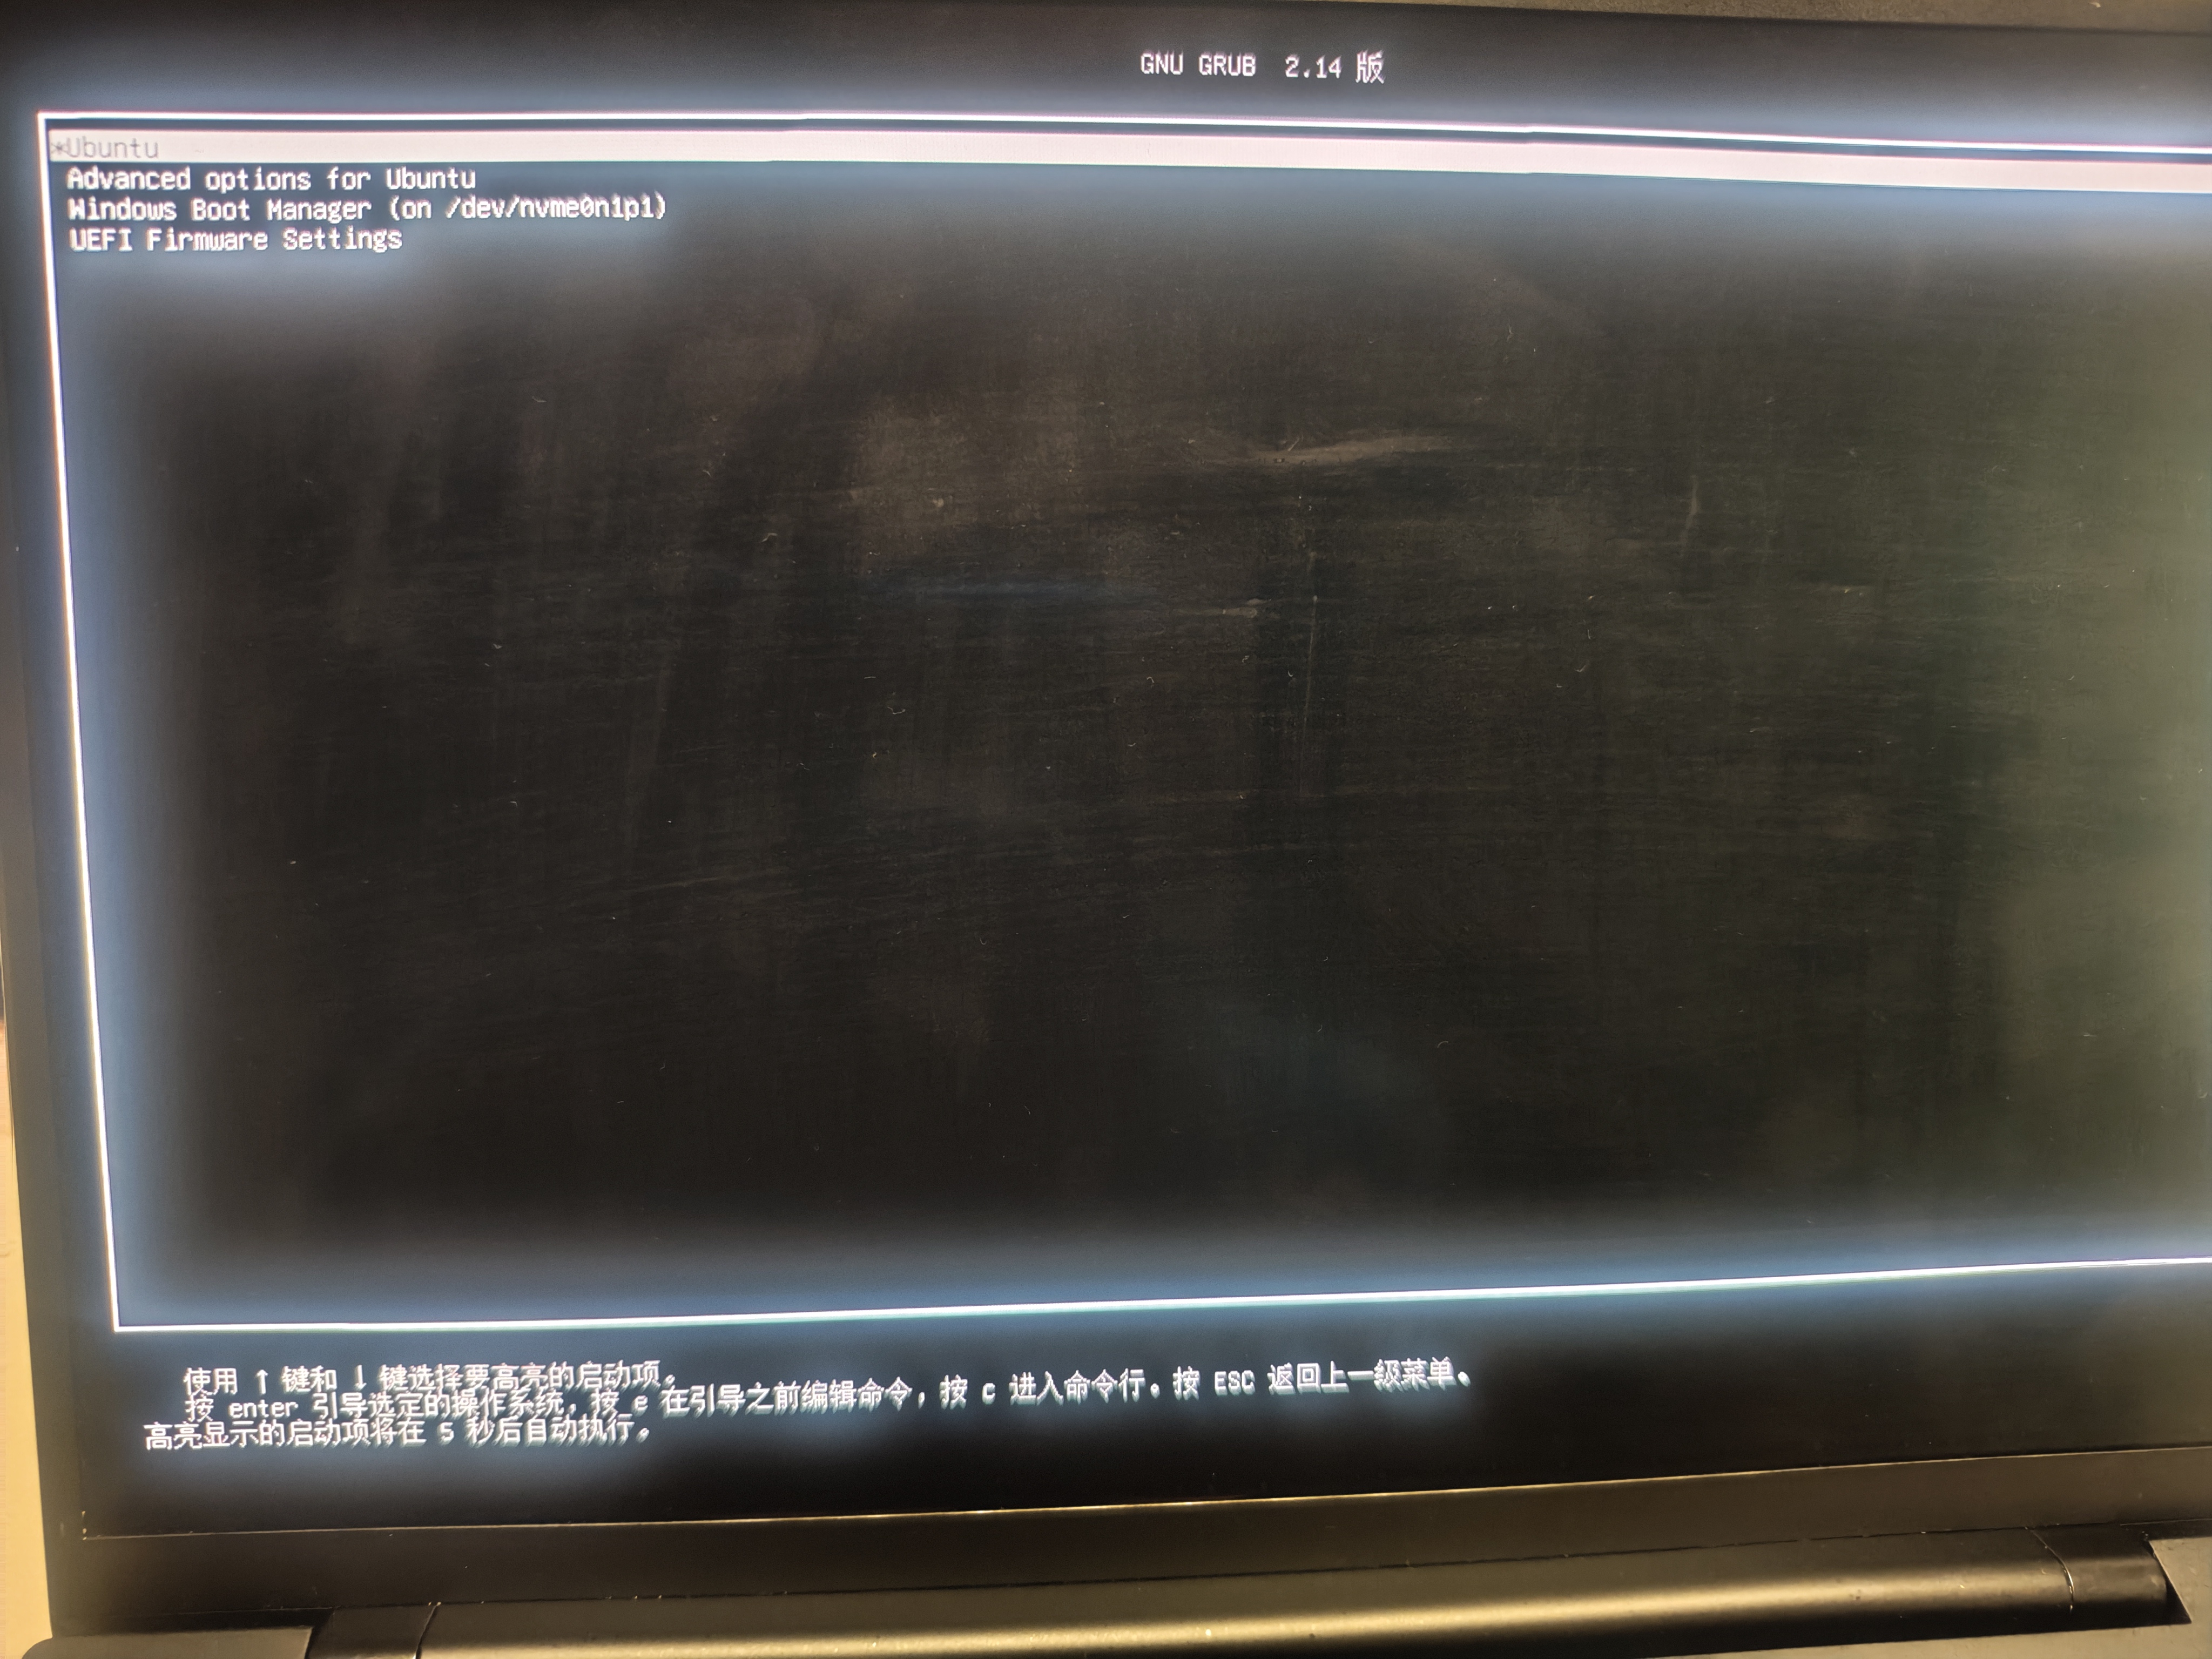
- The PC reaches the internal GRUB menu without the USB drive.
- Ubuntu accepts the new account and reaches the desktop.
- Windows Boot Manager actually starts Windows when it was meant to be retained.
- The keyboard, touchpad, display, audio, and network meet your needs.
- Ubuntu can download and install current updates.
- The final disk layout matches the plan and no unrelated data partition was removed.
After connecting to the internet, open Software Updater, or run sudo apt update followed by sudo apt full-upgrade, to install current security and hardware-support updates. Restart when requested.
These screenshots document one successful ThinkPad T14s Gen 6 Snapdragon installation. Firmware and device-driver support can differ across Snapdragon models, so test the essential hardware on your own computer after first startup.
Troubleshooting
Why did Ubuntu 24.04 fail to start on this Snapdragon laptop?
ARM laptops depend on suitable kernel, firmware, and device support. Ubuntu 24.04 did not start in an earlier test on this ThinkPad T14s Gen 6 Snapdragon edition, while 26.04 did. Prefer the current official 26.04 LTS ARM64 image, but verify every other model on its own hardware.
The ISO exists on the internal drive, but the installer cannot find it after restart
Check whether its source is a BitLocker volume or a partition that the installation is modifying. Copy the ISO to an ordinary non-BitLocker NTFS/FAT32 volume or to the bootable USB data area, start uqitong ARM PE again, and reselect the file.
Windows shows the BitLocker volume as unlocked. Can I use it?
Do not rely on the unlocked icon. Version 1.5 rejects a BitLocker ISO source before changing the target disk. Move the ISO to a normal unencrypted volume when that warning appears.
BusyBox reports “selected ISO source did not appear”
The Linux installation environment did not find or mount the original ISO source. Shut down, return to uqitong ARM PE, move the ISO to an ordinary non-BitLocker source that will not be modified, and run the installer again.
How do I keep Windows?
Back up your data. Use Install to partition if you already prepared an empty target, or Shrink partition to make space in an existing partition. Do not choose whole-disk mode. After installation, actually boot Windows Boot Manager from the final GRUB menu.
The PC returns to the temporary Ubuntu installation menu
After confirming installation has completed, shut down, disconnect the uqitong USB drive, and boot from the internal Ubuntu/GRUB entry. Do not select the temporary USB installation entry again.
Does this procedure support every ARM PC?
No universal compatibility claim is implied. This walkthrough verifies one ThinkPad T14s Gen 6 Snapdragon installation. Other processors, firmware versions, and hardware configurations may behave differently.
Ready to begin?
For current downloads and product information, visit the official uqitong ARM website.